Client Maintenance / Client Parameters / Collateral Advance Rate
Client Parameters Overview
The Collateral Advance Rate page allows you to set the advanced rate as well as low and high notification threshold for each collateral type and by division if applicable.
Users can specify a collateral rate for each division code and collateral type. You can add, edit, and delete a Division. In addition, you can add, edit, delete and export collaterals.
This page allows you to set the advanced rate as well as low and high notification threshold for each collateral type and by division if applicable.
The collateral group section allows the user to add sublimit for single collateral as well as multiple collaterals. The collateral group is created for sublimit and Reserves.
Navigation: Client Maintenance → Client Parameters → Collateral Advance Rate
Refer to the screenshot:
Division Code
|
Fields |
Descriptions |
|
Name |
Display division name. |
|
Description |
Specifies the description for the division name. |
Collateral Advance Rate
|
Fields |
Descriptions |
|
Collateral Type |
Specifies the type of collateral. For example, Receivables, Payables, Inventory, Other collateral and Swing Line. |
|
Collateral Name |
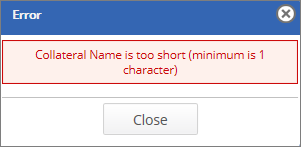
Specifies the name of collateral. The minimum character limit is 1. If the character limit is less than 1, an error message appears. Refer to the screenshot: |
|
Item Number |
Allows to enter a item number for each collateral type. |
|
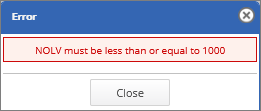
NOLV |
Specifies the inventory source. It accepts numerical values and the value must be less than or equal to 1000. Refer to the screenshot: Conditions: If NOLV is 0, then Inventory Collateral Calculation is calculated as: Eligible inventoryEligible inventory * advance rate = Inventory collateral (Inventory – Ineligibles) If NOLV is greater than 0, then calculate advance rate as: NOLV % = NOLV value / Inventory Value = 600/33580.50 = 1.78
|
|
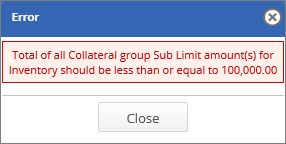
Sub Limit |
Specifies an sub limit amount of a collateral to charge. The sublimit value for the specific collateral type should be defined lesser than the sublimit cap defined under Basic Parameters page. If the value exceeds, an error message appears. Refer to the screenshot: |
|
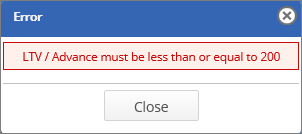
LTV/Advance |
Specifies the advance for the collateral. The maximum LTV/Advance value limit is 200%. If the value exceeds, an error message appears. Refer to the screenshot: |
|
Adjusted Advance Rate |
Specifies the adjusted advance rate for the collateral. The adjust rate is calculated as follows; Adjusted Rate = (NOLV * Advance rate) = 600*800= 4800% |
|
Low Value |
Specifies the lowest values for the collateral. |
|
High Value |
Specifies the Highest values for the collateral. |
|
Ineligible |
Specifies if the collateral is eligible or not. |
|
Ineligible Reason |
Display the reason for collateral's ineligibility. |
|
Currency |
Specifies the currency for the collateral's advance rate. You can add the exchange rate for currency conversion into USD for the selected collateral. |
|
Based On |
Specifies the value for the calculation of sublimit selected under Client basic parameters page. The option includes the following options.
|
|
Calculated Cap By |
Specifies the value selected for cap calculation under the Client basic parameters page. |
|
Max Cap % |
Specifies the maximum cap percentage. |
Collateral Group
|
Fields |
Descriptions |
| Group Type | Specifies the collateral group type. The system default value is Sublimit. |
| Group Name | Specifies the collateral group name. |
| Collateral Type | Specifies the type of collateral. For example, Receivables, Inventory and Other collateral. |
| Collaterals in Group |
Displays the group of collaterals which has been created in Collateral Advance rate section, based on the option selected under Collateral Type field.  You may select one or more collaterals. You may select one or more collaterals.
|
| Value |
Specifies the sublimit value.
Refer to the screenshot: |
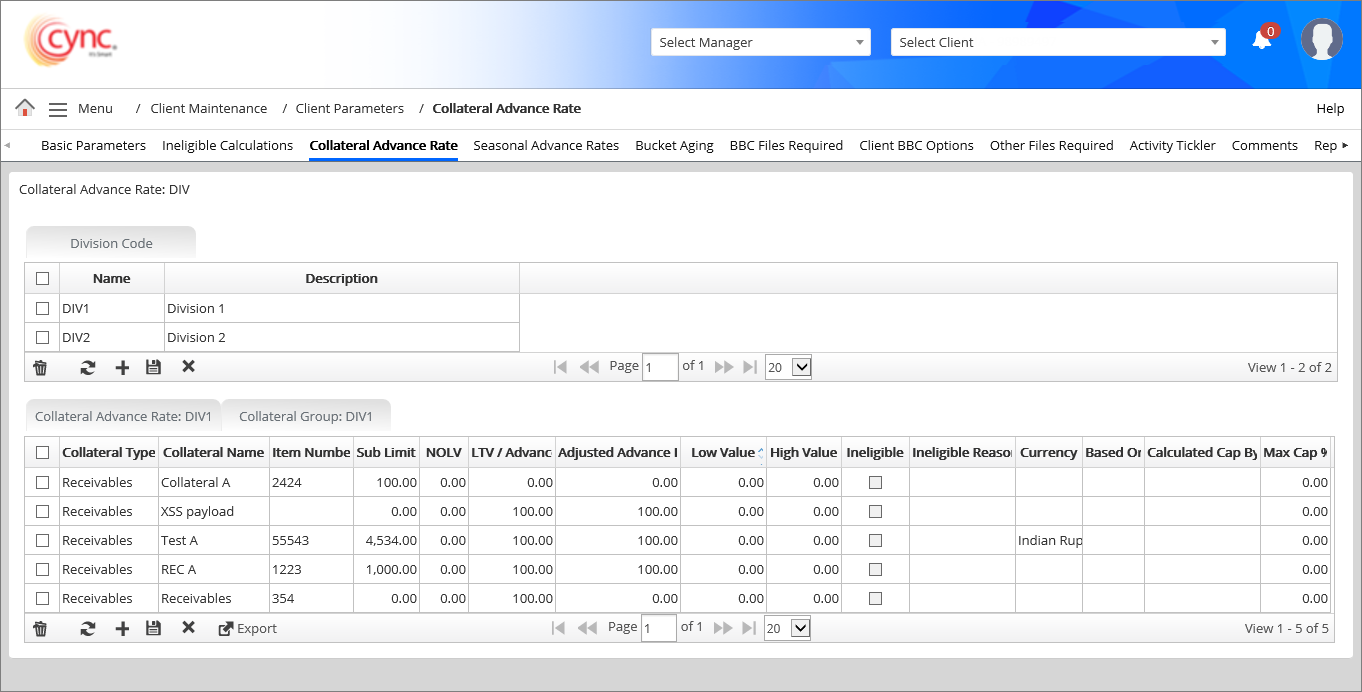
To set up a division code and its collateral advance rate, perform these steps:
1. Under the Division Code section, click the ![]() button.
button.
 button.
Refer to the screenshot:
2.Under the Collateral Advance Rate: DIV section, click the  button.
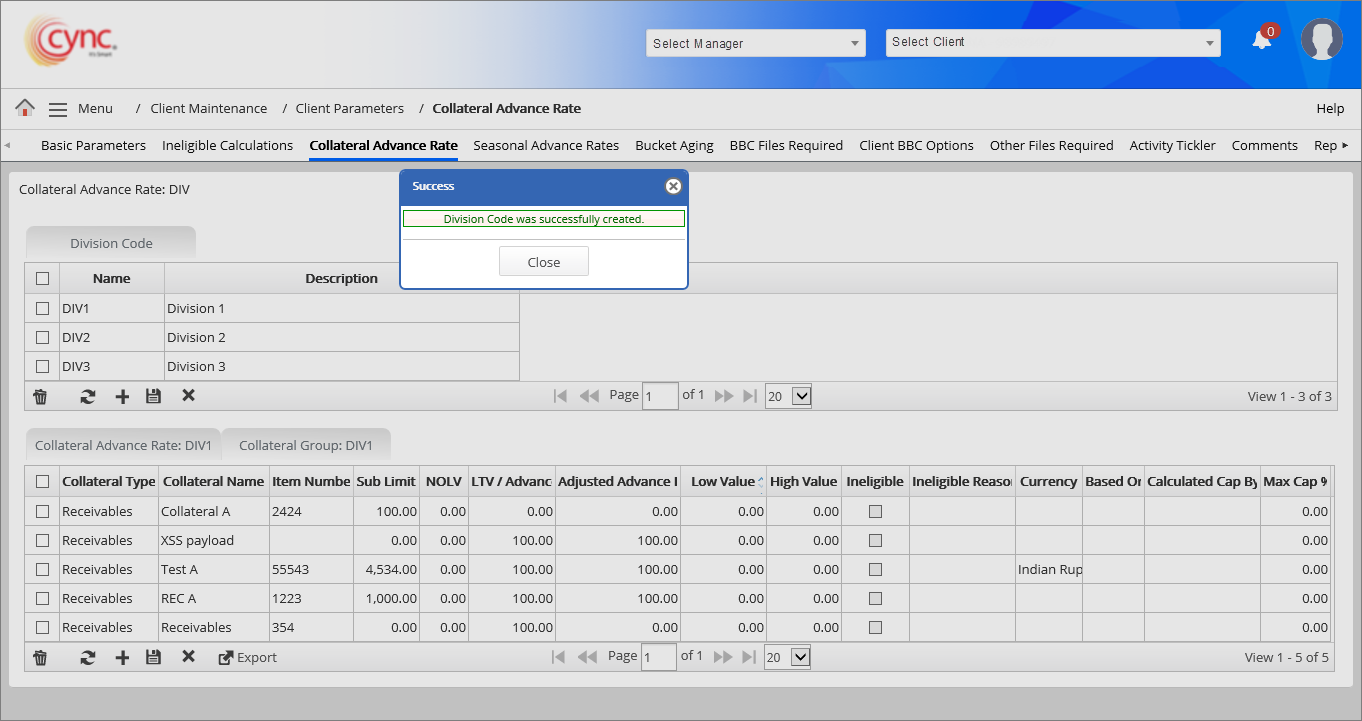
3. Click the ![]() button.The Collateral Advance Rate is successfully created.
button.The Collateral Advance Rate is successfully created.
Refer to the screenshot:

If you need to associate the collateral that you create under a division, select the checkbox under Division Code and create Collateral Advance Rate and Collateral Group for the respective division.
When you click on any division row under Name column of Division Code, the system displays the Collateral Advance Rate data and Collateral Group data for the respective division.
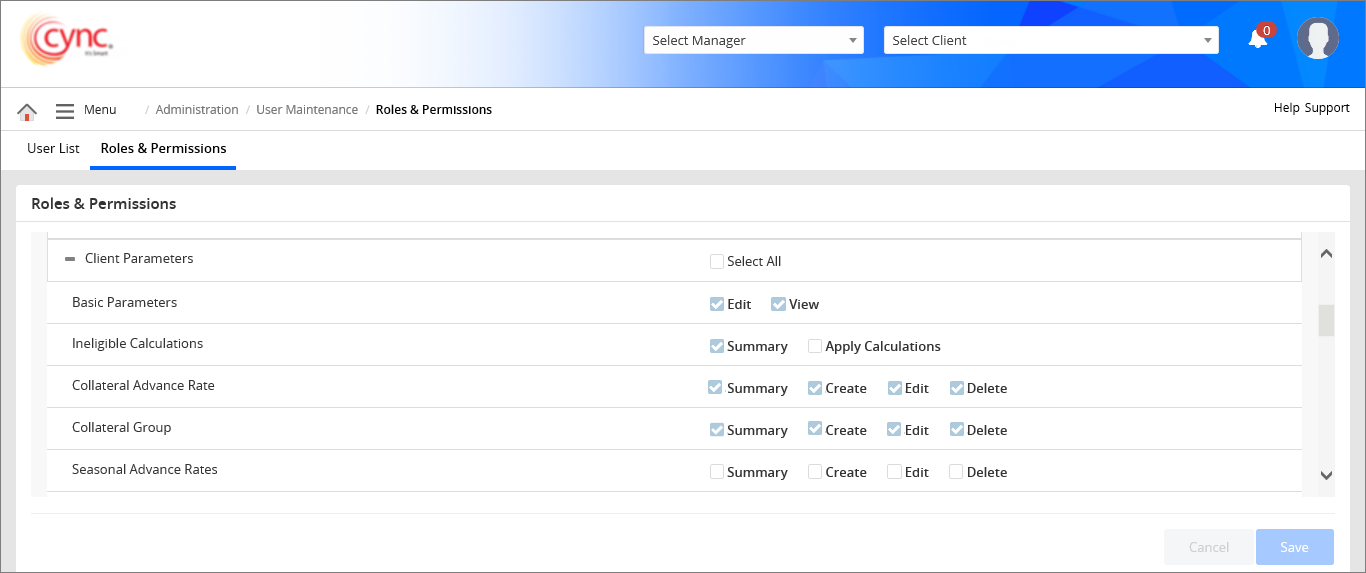
The system displays the Collateral Group section based on the setting done under Roles and Permissions page. The Collateral Group flags are enabled to check ON only if the Collateral Advance Rate flags are checked ON under Roles and PermissionsRoles and Permissions page.
If user modifies the collateral name, then the modified collateral name gets automatically updated in BBC Files Required page and Upload BBC Data Files page.
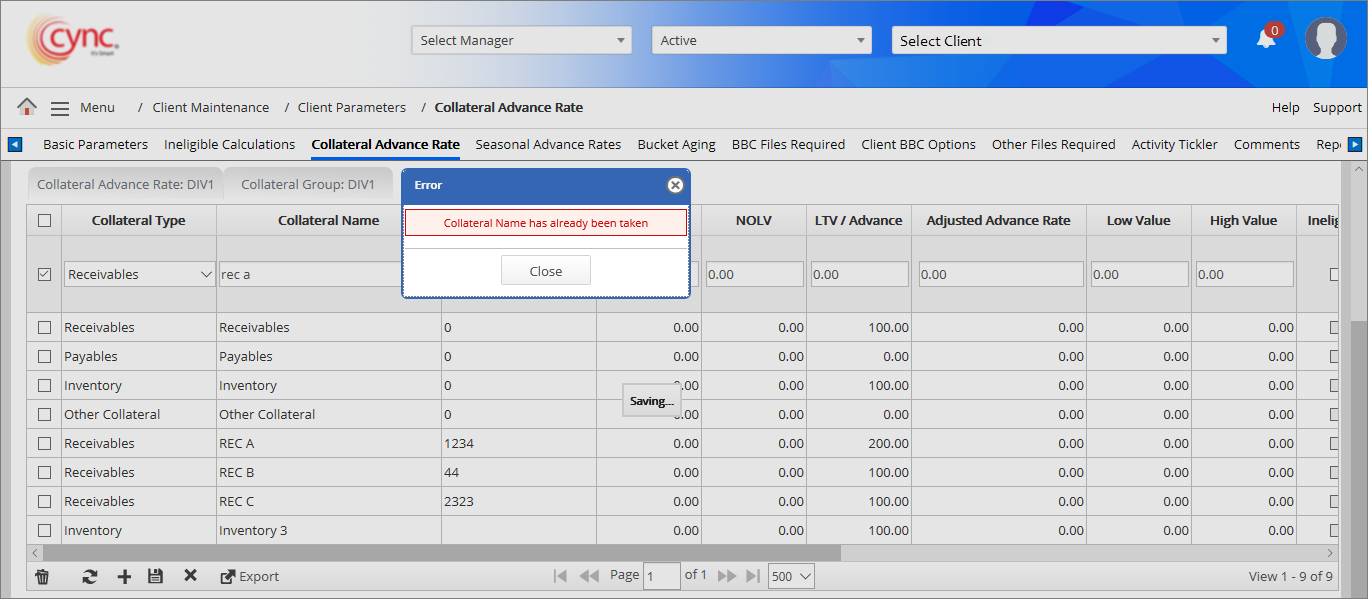
If user enters the duplicate collateral name while creating a new collateral advance rate, then the system shows an error notification irrespective case sensitive or case insensitive.
Refer to the screenshot:
To Set up Collateral Group, perform these steps:
You may set up a division code before setting up the collateral Group.
1. In Collateral Group:DIV section, Click the button.
Refer to the screenshot: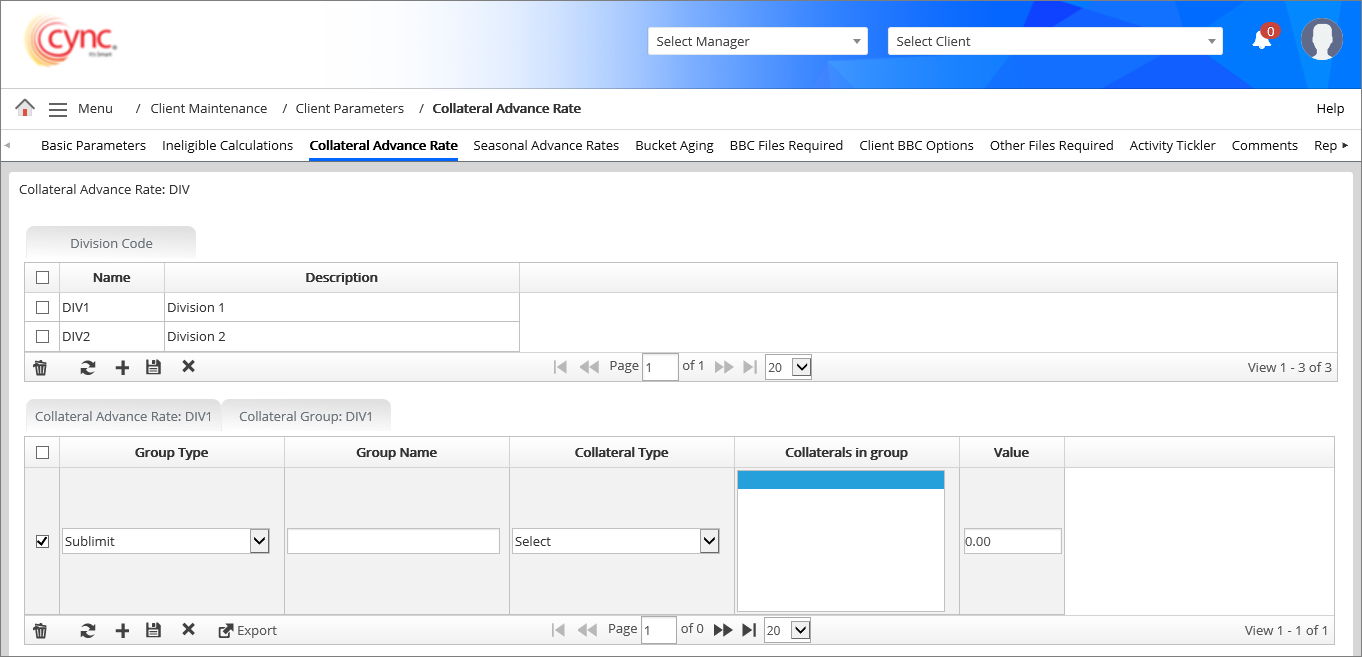
2. In Group Type column, select the collateral group type from drop-down list.
3. In Group Name column, enter the collateral group name.
4. In Collateral Type field, select anyone of the collateral type such as Receivables, Inventory and Other Collateral, from drop-down list.
5. In Collaterals in Group column, select one or more collaterals from the list.
The system displays the options in Collaterals in Group field based on the option selected in Collateral Type field.
6. In Value column, enter the sublimit value.
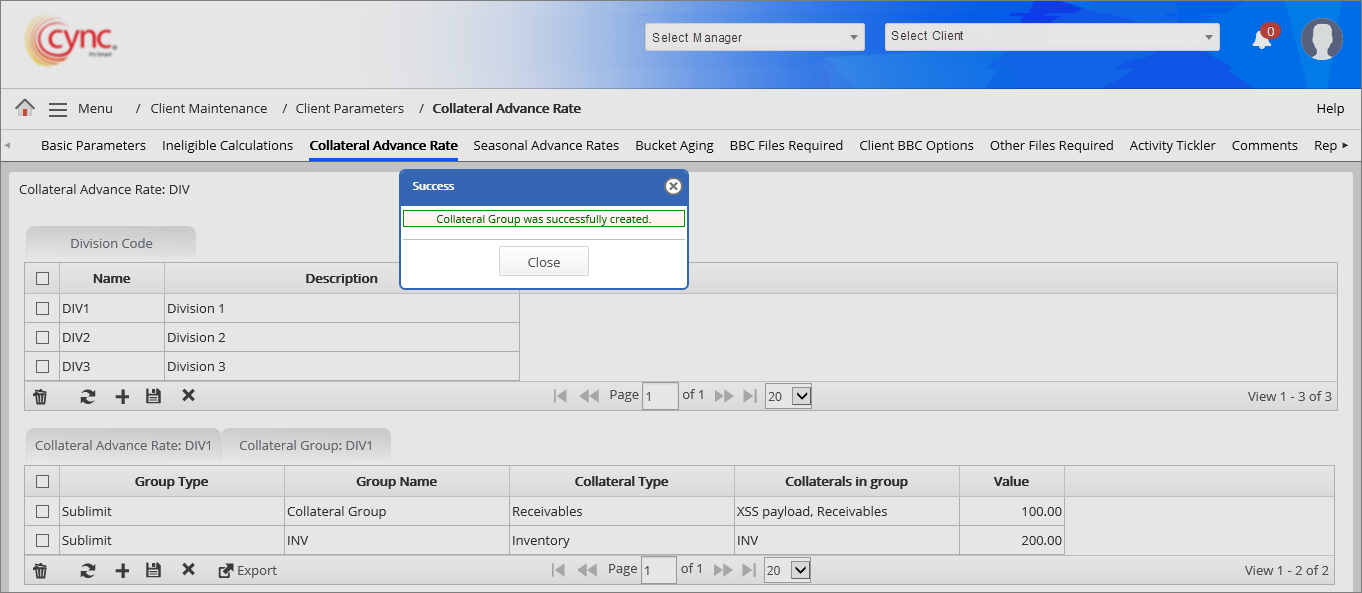
7. Click the button. The Collateral Group is created successfully.
Refer to the screenshot:
To delete the Division Code, perform these steps:
1. Under the Division Code section, select the Division Code that you wish to delete.
2. Click the  button. A Delete pop-up window appears.
Refer to the screenshot:

3. Click the  button. The selected Division Code is deleted and a success message “Division Code was successfully deleted.” appears.
Refer to the screenshot:

To delete the Collateral Advance Rate, perform these steps:
1. Under Collateral Advance Rate section, select the Collateral Advance Rate that you wish to delete.
2. Click the button. A Delete pop-up window appears.
Refer to the screenshot:
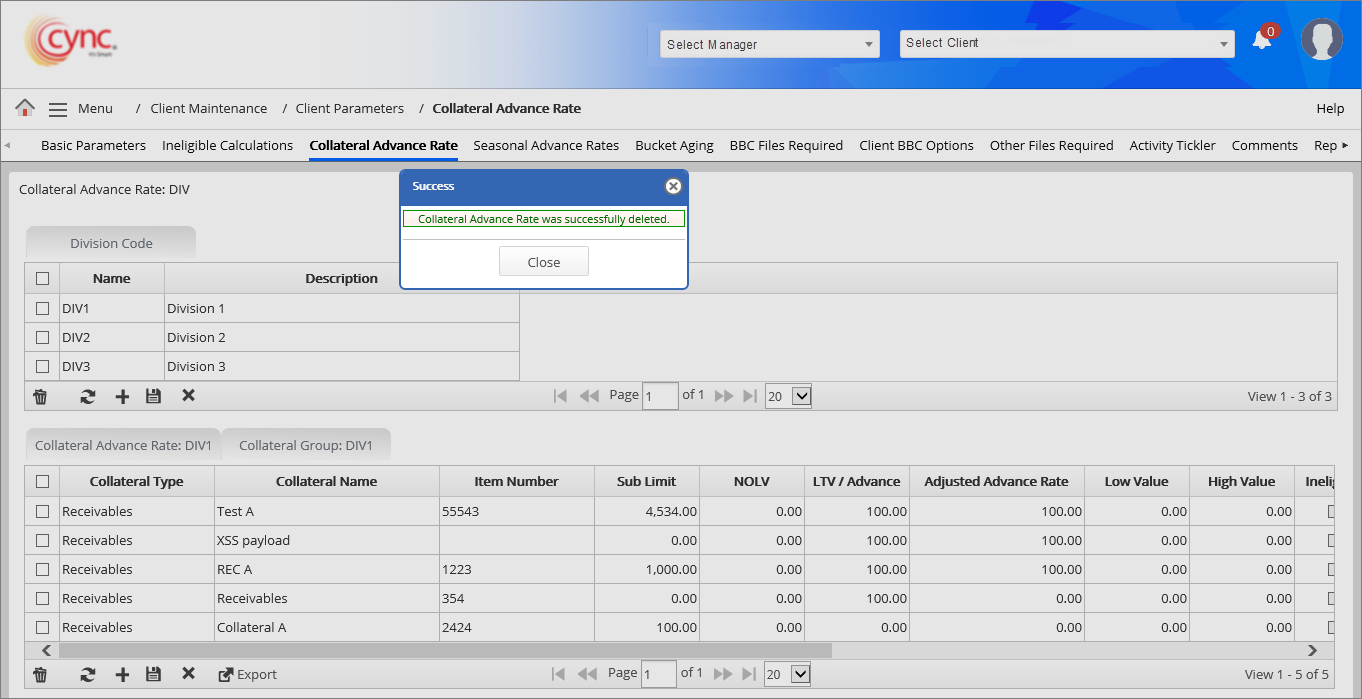
3. Click the button. The selected Collateral Advance Rate is deleted and a success message “Collateral Advance Rate was successfully deleted.” appears.
Refer to the screenshot:
To delete the Collateral Group, perform these steps:
1. Under Collateral Group section, select the Collateral Group that you wish to delete.
2. Click the button. A Delete pop-up window appears.
Refer to the screenshot:
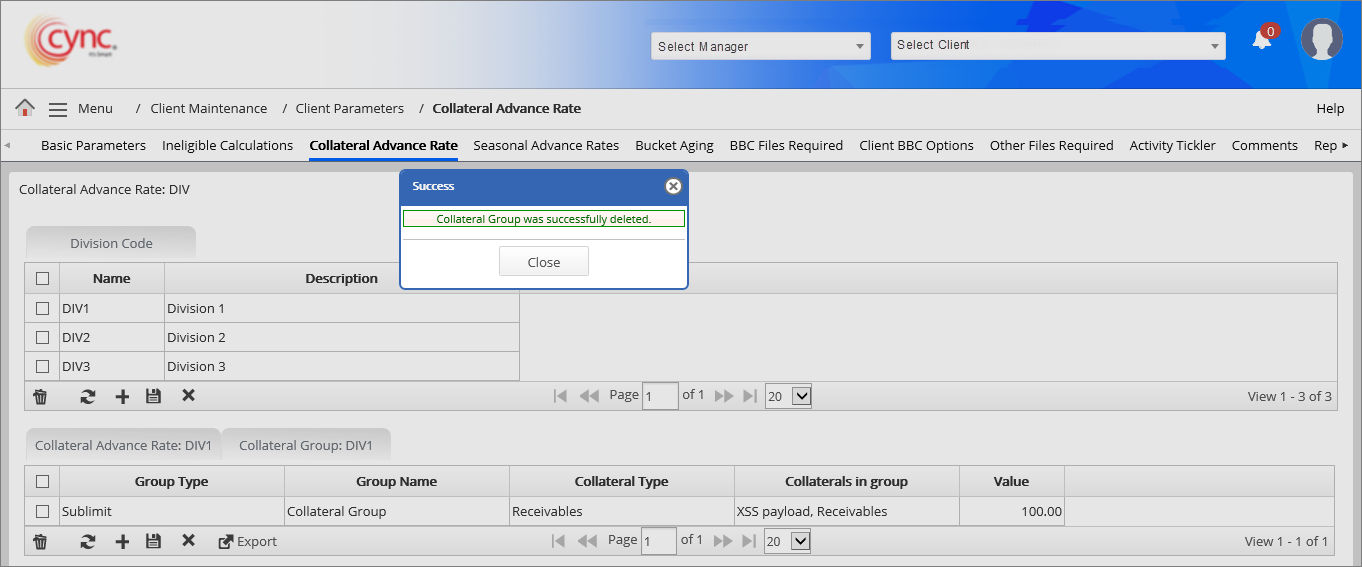
3. Click the button. The selected Collateral Group is deleted and a success message “Collateral Group was successfully deleted.” appears.
Refer to the screenshot:
You cannot delete the collateral group if the collateral group is in use or has dependency with the sublimits.
Refer to the screenshot:
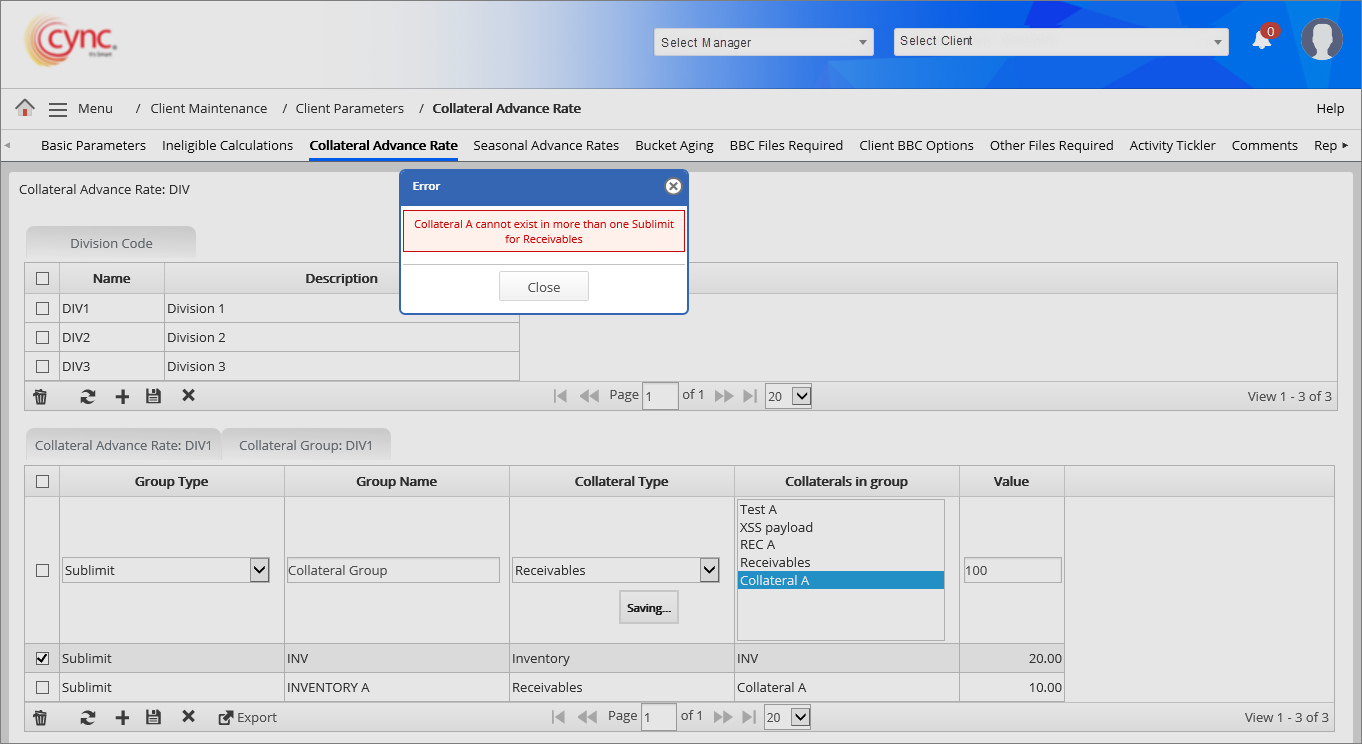
You cannot add same collateral name in more than one Group type. If user adds the same collateral name in more than one group type such as sublimit, then the system shows an error notification.
Refer to the screenshot:
To export Collateral Advance Rate data, perform these steps:
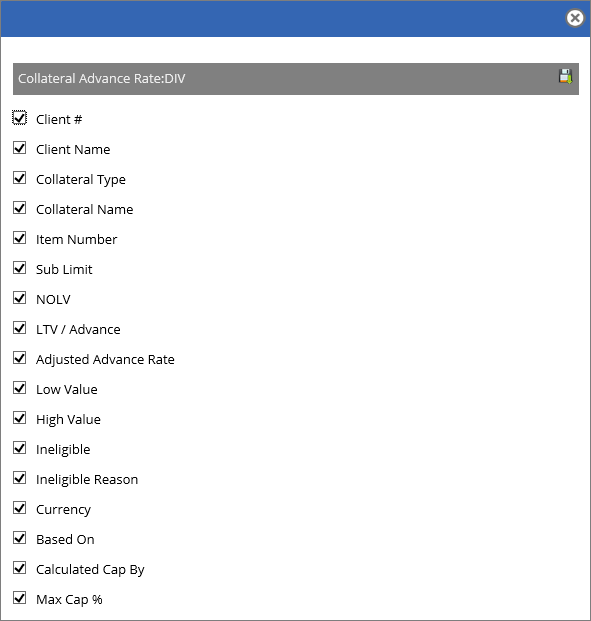
1. In Collateral Advance Rate section, Click the  button. A Collateral Advance Rate:DIV page appears.
Refer to the screenshot:
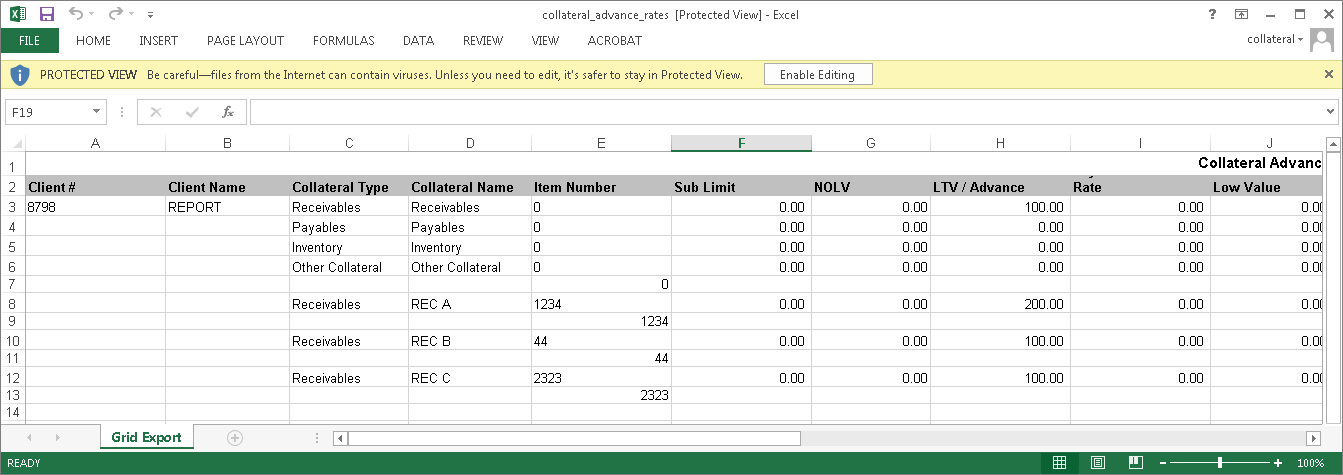
2. Click the  button to export the collateral advance rate data in an excel format. A pop-message “Do you want to open or save collateral_advance_rate.xls from cyncsoftware.com?” appears.
3. Click Open if you want open the extracted collateral advance rate data or click Save. The Collateral Advance Rate data is extracted in an excel format.
Refer to the screenshot:
To export Collateral Group data, perform these steps:
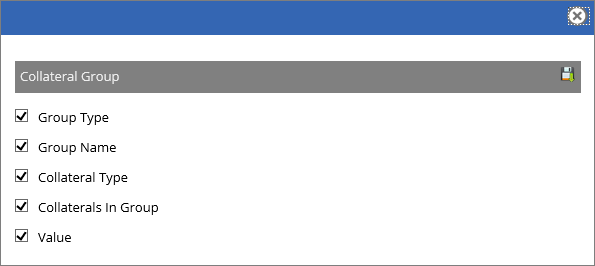
1. In Collateral Group section, Click the ![]() button. A Collateral Group:DIV page appears.
button. A Collateral Group:DIV page appears.
Refer to the screenshot:
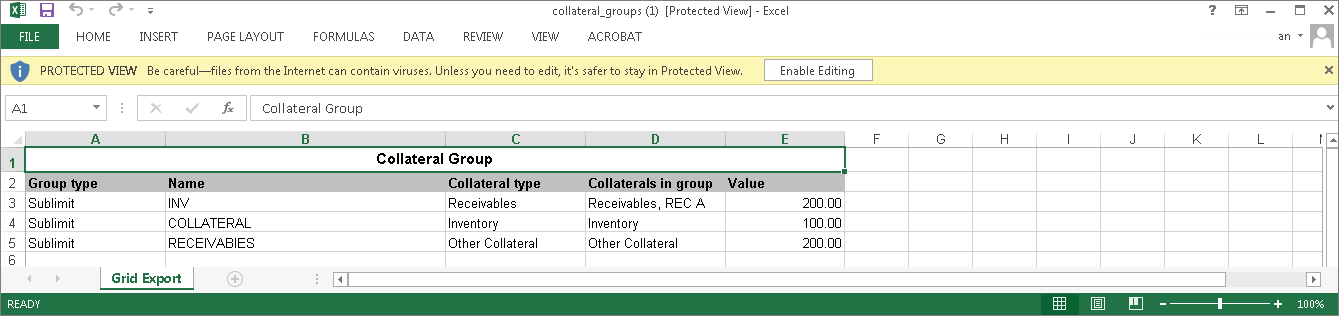
2. Click the button to export the collateral advance rate data in an excel format. A pop-message “Do you want to open or save collateral_group.xls from cyncsoftware.com?” appears.
3. Click Open if you want open the extracted collateral advance rate data or click Save. The Collateral Group data is extracted in an excel format.
Refer to the screenshot:
Item Number – It is a unique number assigned to each collateral type. The system shows the Availability and Total availability based on the item number. The same number can be used for multiple collateral types.
When the same item number is used for 2 collateral types, then the system shows the Total Availability by the sum of the collateral types for the item number. When the file is exported, it shows the Availability and Total availability of the collateral types based on the specific item number.
Refer to the screenshot:

Swing Line Collateral type
The Swing line feature is a sub limit where a lender grants a short term loan to cover possible shortfalls from other debt commitments. Swing line cap reduces the credit line which is applied to AR cap. It allows to update AR cap without changing the credit line value.
For example, If Credit Line = 2,000,000 and AR cap = 0 and Swing line cap is 500,000, then Credit line remains the same but client receivables is updated to 1,500,000.
To set up Swing line loan, perform these steps:
1. Go to Client Maintenance → Client Parameters → Collateral Advance Rate.
2. Click the ![]() button and select Other collateral from Data file type and enter the collateral type (Swing line).
button and select Other collateral from Data file type and enter the collateral type (Swing line).
3. Enter LTV/Advance rate as 100 % and click Save.
4. You can enter the swing line value under Other collateral page.
Enabling Other Collateral to handle Financial Assets
Below are the steps to enable - Financial Assets:
1. Click on the Other Collateral hyperlink.
The Other Collateral in Collateral Advance Rate must be a hyperlink for the user to click only if the LTV/Advance Rate > 0 for the Other Collateral and Roles & Permissions section is enabled.
2. A Market Assignment Pop-Up appears.
Refer to the screenshot:
.png)
3. Enable Toggle to get the Financial Assets page.
4. Click on Save button on the Market Assignment Pop-Up.
5. A success message “Market Assignment was successfully updated” appears.
6. The Collateral Type of the respective Other Collateral will have an icon in green adjacent to the hyperlink indicating the Financial Assets can be added to the Other Collateral.
Refer to the screenshot:
.png)